

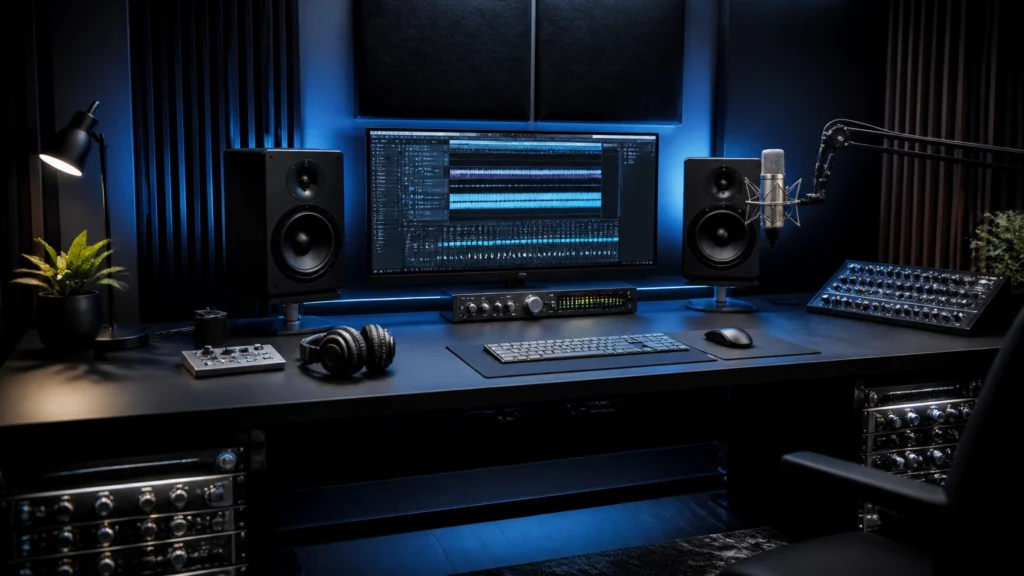
The establishment of a home studio requires a systematic evaluation of professional audio equipment. Selecting the appropriate gear is not merely a matter of brand preference but a technical decision based on workflow requirements, room acoustics, and the intended final output quality. For musicians and audio engineers, the integration of high-quality audio gear ensures that the signal path remains transparent and reliable throughout the production process.
This guide provides a technical comparison of the essential components required for a functional recording environment. It focuses on the specifications and performance metrics necessary to implement effective professional sound solutions.
Audio Interfaces: The Digital Gateway
The audio interface serves as the central hub of the modern studio. Its primary function is the conversion of analog signals from microphones and instruments into digital data for processing, and the subsequent conversion back to analog for monitoring.
Comparison of Interface Specifications
When evaluating pro audio equipment in this category, several technical factors must be considered:
- I/O Count (Inputs and Outputs): The number of simultaneous recording channels determines the scope of the studio. Solo artists may require only two inputs, whereas recording a full drum kit typically necessitates a minimum of eight inputs.
- Preamplifier Quality: High-performance preamplifiers are essential for maintaining a low noise floor and providing sufficient gain for dynamic microphones.
- Sample Rate and Bit Depth: Professional standards currently dictate a minimum of 24-bit depth and sample rates of 48kHz or 96kHz to ensure high-fidelity capture.
- Latency Performance: Low-latency drivers are critical for real-time monitoring during the recording phase.

For individuals seeking a streamlined setup, internal documentation on how to build a minimal home studio setup that sounds pro offers further guidance on essential interface selection.
Studio Monitors: Accuracy in Playback
Studio monitors are designed to provide a flat frequency response, ensuring that the audio is represented accurately without coloration. This is a departure from consumer-grade sound systems for musicians, which often emphasize bass or treble frequencies for a more "pleasing" listening experience.
Technical Comparison of Monitor Types
- Nearfield Monitors: These are designed for close-range listening (typically 3 to 5 feet). They minimize the influence of room reflections, making them suitable for smaller, untreated home studios.
- Driver Size: 5-inch monitors are standard for small rooms, providing clear midrange detail. 7-inch and 8-inch monitors offer extended low-frequency response, which is necessary for electronic music production or mixing without a subwoofer.
- Active vs. Passive: Most modern home studio monitors are active (self-powered), incorporating internal amplifiers optimized for the drivers. Passive monitors require external amplification, which adds complexity to the signal chain.

Choosing the correct monitor size is detailed in our ultimate guide to pro audio equipment, which explores the relationship between speaker output and room dimensions.
Microphones: Precision Capture Tools
The selection of a microphone depends on the acoustic properties of the source material and the recording environment. In a home studio context, two primary types of professional microphones are commonly utilized.
Condenser vs. Dynamic Microphones
- Large-Diaphragm Condenser Microphones: These are highly sensitive and provide a detailed high-frequency response. They are the standard for vocal recording and acoustic instruments. However, their sensitivity means they are more likely to capture ambient room noise.
- Dynamic Microphones: These are more robust and can handle higher sound pressure levels (SPL). They are ideal for recording electric guitar amplifiers, percussion, and vocals in rooms with suboptimal acoustic treatment. They naturally reject more background noise compared to condensers.

Understanding the technical nuances of these tools is critical. Refer to our analysis on analog vs. digital pro audio equipment for more information on signal chain integration.
Studio Headphones: Critical Listening and Tracking
Headphones provide a consistent monitoring environment that is independent of room acoustics. They are classified into two main categories based on their mechanical design and intended use.
Closed-Back vs. Open-Back
- Closed-Back Headphones: These offer high isolation, preventing audio from leaking out (bleed) and entering the microphone during recording. They are the standard choice for vocalists and musicians during the tracking phase.
- Open-Back Headphones: These allow air to pass through the ear cups, providing a more natural soundstage and reduced pressure build-up. They are preferred for critical listening and mixing sessions where isolation is not a priority.

Integrating high-quality headphones is a cost-effective method to improve monitoring accuracy when full-scale room treatment is not feasible.
Professional Sound Solutions: Integration and Accessories
Building a professional sound system requires more than just primary devices. The infrastructure supporting the audio gear is equally important for maintaining signal integrity.
Necessary Components for Infrastructure
- XLR and TRS Cabling: High-quality shielded cables prevent electromagnetic interference (EMI) and radio frequency interference (RFI) from degrading the audio signal.
- Acoustic Treatment: Bass traps, acoustic panels, and diffusers are necessary to manage standing waves and reflections within the room. Without treatment, even the most expensive monitors will provide inaccurate information.
- Power Conditioning: A power conditioner protects sensitive electronic components from voltage spikes and filters out electrical noise from the power lines.
For a comprehensive walkthrough on assembly, review our 5-step guide to building a professional sound system.
Selection Methodology: Criteria for Decision Making
To choose the best pro audio equipment, a systematic approach is recommended. Decisions should be based on technical specifications rather than aesthetic appeal or marketing trends.
| Component | Priority Feature | Recommended Use Case |
|---|---|---|
| Audio Interface | Preamplifier Transparency | Vocal and Instrument Tracking |
| Studio Monitors | Frequency Linearity | Mixing and Mastering |
| Condenser Mic | Transient Response | Acoustic Detail and Vocals |
| Dynamic Mic | High SPL Handling | Loud Amps and Percussion |
| Closed-Back Headphones | Acoustic Isolation | Recording/Tracking |
Effective professional sound solutions are achieved by matching equipment capabilities to specific production goals. Over-investing in one area while neglecting another (e.g., expensive mics in an untreated room) results in a suboptimal recording environment.
Conclusion
Selecting pro audio equipment for a home studio is an iterative process that requires technical knowledge and clear objectives. By comparing interfaces, monitors, microphones, and headphones based on their performance specifications, musicians can build a reliable system that facilitates high-quality audio production. JAMMIN' Sound Solutions provides the necessary tools and expertise to ensure that your studio environment meets professional standards.