

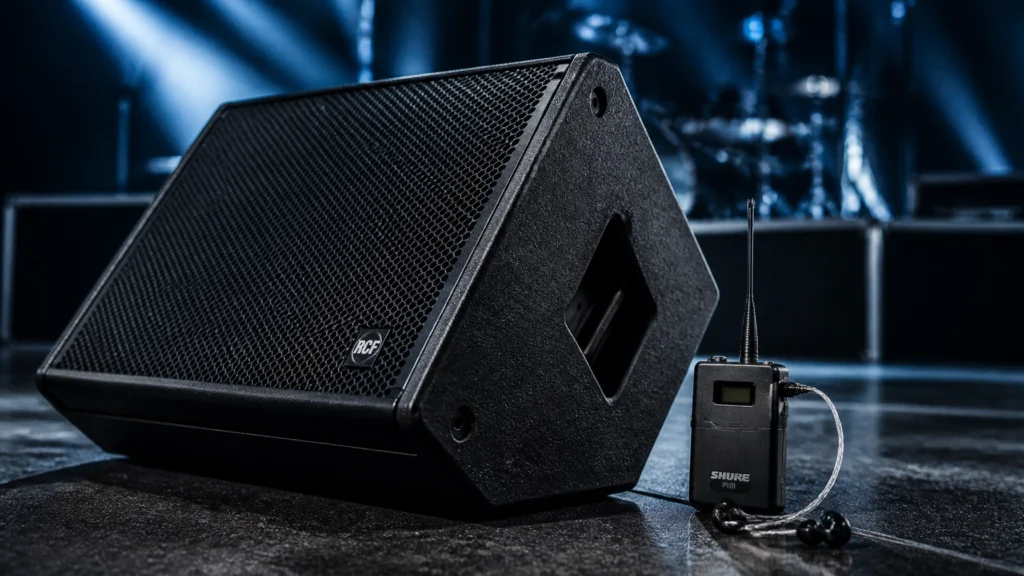
Stage monitoring is a critical component of professional sound solutions. It refers to the system used by musicians to hear themselves and their bandmates during a live performance. This system operates independently of the Front of House (FOH) mix, which is the audio provided to the audience. Effective monitoring ensures that performers maintain correct pitch, timing, and dynamics.
A failure to implement proper monitoring often results in poor performance quality and increased feedback. This guide provides a technical overview of stage monitoring systems, the hardware involved, and best practices for musicians and audio professionals.
Understanding the Purpose of Stage Monitoring
The primary objective of a stage monitor system is to provide a clear reference signal to each performer. In most live environments, the main speakers are positioned in front of the stage and oriented toward the audience. This placement results in the performers hearing only muffled, indirect sound from the rear of the speakers.
Monitoring systems solve this by using dedicated sound systems for musicians that face the performers. These systems allow for individualized mixes. For example, a vocalist may require a mix heavy on their own voice and a reference instrument, while a drummer may prioritize the bass guitar and a click track.
Core Types of Monitoring Systems
There are two main categories of monitoring: floor wedges and in-ear monitors (IEMs). Each has specific technical requirements and operational advantages.
1. Floor Wedges
Floor wedges, also known as stage monitors or foldbacks, are speaker enclosures designed with an angled baffle. This design allows the speaker to sit on the floor and project sound upward toward the performer’s ears.

Most professional wedges are active (powered) or passive (requiring an external amplifier). They typically feature a woofer for low-to-mid frequencies and a compression driver for high frequencies.
2. In-Ear Monitors (IEMs)
IEMs consist of a transmitter, a beltpack receiver, and specialized earphones. They deliver the monitor mix directly into the performer’s ear canal. This system provides high levels of isolation from ambient stage noise.

IEMs are increasingly common in modern pro audio equipment setups due to their ability to reduce stage volume and protect hearing. You can find more specific information on IEMs for church worship bands here.
Technical Implementation of Floor Wedges
Using floor wedges effectively requires attention to microphone placement and polar patterns. Failure to align these components results in audio feedback.
Mic Placement and Polar Patterns
Microphones have specific areas where they reject sound, known as "nulls."
- Cardioid Microphones: These reject sound from directly behind the capsule. Floor wedges should be placed directly in front of the singer, behind the microphone.
- Supercardioid/Hypercardioid Microphones: These have a rear pickup lobe but reject sound from the sides (approximately 120–130 degrees off-axis). Wedges should be placed slightly to the sides of the microphone stand to avoid the rear pickup area.
Ringing Out the System
"Ringing out" is a process where the audio engineer identifies and reduces frequencies prone to feedback. This is done by slowly increasing the monitor volume until a frequency begins to ring, then applying a narrow cut using a graphic or parametric equalizer. This process increases the available gain before feedback.
Advantages and Disadvantages of In-Ear Monitors
Many musicians are transitioning to wireless IEM systems for better consistency. However, the transition requires technical adjustments.
| Feature | Floor Wedges | In-Ear Monitors |
|---|---|---|
| Stage Volume | Increases stage noise; can bleed into FOH. | Eliminates stage noise from monitors. |
| Feedback Risk | High; depends on placement and EQ. | Very low; sound is isolated in the ear. |
| Consistency | Changes as the performer moves. | Constant mix regardless of movement. |
| Cost | Generally lower per unit. | Higher; requires transmitters and receivers. |
For detailed instructions, refer to our guide on setting up your first wireless IEM system.
Managing Monitor Mixes and Signal Flow
Monitor mixes are typically generated using "Auxiliary Sends" (Aux Sends) on a mixing console. These sends are configured to be "Pre-Fader," meaning the monitor level is independent of the FOH fader movements.

Auxiliary Sends
Each aux send creates a separate bus. If a console has six aux sends, the engineer can provide six unique monitor mixes. In high-level professional sound solutions, a dedicated monitor console is used to handle complex routing for large ensembles.
Signal Chain
- Input: Microphone or instrument signal enters the console.
- Processing: Basic gain and EQ are applied to the channel.
- Send: The signal is routed via a Pre-Fader Aux Send to a monitor bus.
- Output: The monitor bus signal is sent to an amplifier (passive) or directly to the speaker (active) or IEM transmitter.
Common Monitoring Errors and Solutions
System performance is often degraded by common operational mistakes. Addressing these issues is essential for maintaining audio gear longevity and performance quality.
1. Excessive Stage Volume
Musicians often request more volume in their monitors to compete with loud stage instruments, such as guitar amplifiers or drums. This creates a "volume war" that muddies the FOH mix.
- Solution: Reduce the volume of stage amplifiers and use IEMs to provide isolation.
2. Cluttered Monitor Mixes
Requesting "everything" in a monitor mix leads to a lack of clarity. If every instrument is at the same level, the performer cannot distinguish critical cues.
- Solution: Focus the mix on 2–3 essential elements. A vocalist should prioritize their own voice and a reference pitch instrument like keyboards or guitar.
3. Poor Gain Staging
Setting the input gain too high or too low at the console affects the quality of the monitor send. High gain increases the noise floor and risk of feedback.
- Solution: Set input gains to hover around -18 dBFS on digital consoles to ensure adequate headroom.
Practical Soundcheck Procedures
A structured soundcheck is necessary for a successful performance. Musicians should follow these steps:
- Individual Checks: Each instrument is checked for gain and basic EQ.
- Monitor Leveling: The musician requests specific levels for their mix. Requests should be clear, such as "More lead vocal" rather than "It sounds bad."
- Full Band Test: The band plays a high-energy section of a song to check for feedback and mix balance under performance conditions.
- Final Adjustments: Minor tweaks are made to ensure all performers are comfortable.
Conclusion
Mastering stage monitoring is essential for any musician serious about live performance. Whether using traditional floor wedges or modern IEM systems, understanding the technical principles of signal flow, mic placement, and mix management will lead to a more professional sound. JAMMIN' Sound Solutions provides a range of professional audio equipment designed to meet these needs.
For further reading on maintaining your equipment, see our guide on essential maintenance tips to make your audio gear last longer.