

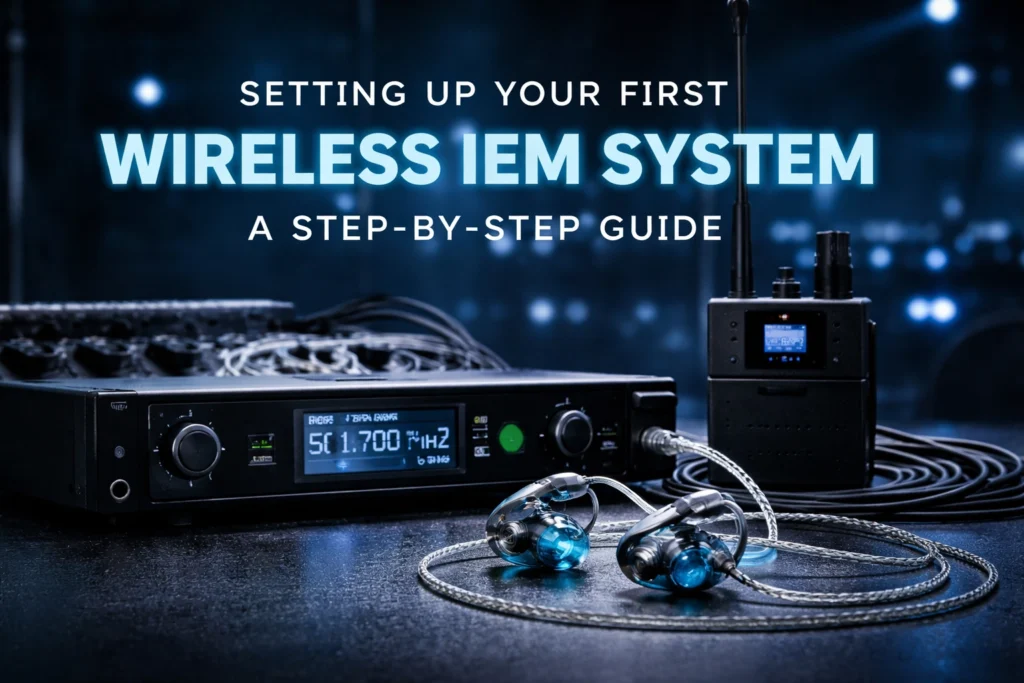
Wireless in-ear monitor (IEM) systems have become standard pro audio equipment for musicians seeking consistent, high-quality monitoring during live performances. Transitioning from traditional floor wedges to wireless IEMs requires proper planning and configuration. This guide provides a systematic approach to setting up a wireless IEM system for the first time.
Understanding Wireless IEM Systems
A wireless IEM system replaces floor monitors with earpieces that deliver a customized audio mix directly to each performer. The basic configuration consists of three primary components: a transmitter unit, receiver belt packs, and earpieces.
The transmitter connects to a mixer and broadcasts the audio signal wirelessly. Each performer wears a belt pack receiver tuned to receive their specific mix. This arrangement allows multiple musicians to hear different mixes simultaneously while moving freely on stage.
For musicians accustomed to floor wedges, wireless IEMs provide several practical advantages. Stage volume decreases significantly, feedback issues diminish, and each performer maintains control over their individual mix regardless of position on stage.

Determining System Requirements
Before purchasing audio gear, assess the specific needs of the performance situation. The primary consideration involves determining how many individual monitor mixes are required.
A single transmitter can broadcast one mix to multiple receivers. This configuration works for situations where all performers need the same audio balance. However, most bands benefit from multiple transmitters, allowing customized mixes for each musician.
Consider the following when planning system requirements:
- Number of performers requiring individual mixes
- Venue size and potential RF interference sources
- Budget constraints for initial investment
- Expansion plans for future performances
Starting with a basic system and adding components over time represents a practical approach for many musicians. A drummer might need more kick and snare in their mix, while a vocalist requires stronger vocal presence. Multiple transmitters accommodate these different requirements.
Essential Equipment Checklist
A complete wireless IEM setup requires several interconnected components. The following list covers the necessary audio gear for a functional system:
Core Components:
- Digital mixer with adequate inputs and outputs
- Microphone splitter for signal distribution
- Wireless IEM transmitter(s)
- Receiver belt packs (one per performer)
- Quality earpieces for each user
Supporting Infrastructure:
- Wireless router for digital mixing control
- Ethernet cables for network connectivity
- XLR and instrument cables
- Direct boxes for instrument connections
- Antenna combiner (for systems with three or more transmitters)
The microphone splitter serves a critical function. Without it, performers receive only the front-of-house mix rather than independent monitor control. The splitter duplicates signals, sending one set to the monitor mixer and another to the front-of-house system.

Step 1: Configure Digital Control
Digital mixers allow remote control via dedicated applications. Download the appropriate app for the specific mixer model being used. Each manufacturer provides different control software, so verify compatibility before setup.
Connect the mixer to a wireless router using an ethernet cable. Most applications detect the mixer automatically once connected to the same WiFi network. Some systems require manual entry of the mixer's IP address.
Once the connection establishes successfully, the mixer becomes controllable from a tablet or smartphone. This capability proves particularly useful during sound checks, allowing adjustments from anywhere on stage.
Step 2: Connect Audio Sources
Run instruments and microphones through the floor split snake on the stage side. Direct boxes convert instrument-level signals to line level for proper integration with the system.
Connect XLR outputs from direct boxes into the splitter. One output feeds the monitor mixer while the other goes to the front-of-house console. This parallel signal path ensures both systems receive identical source signals.
Label all connections clearly during initial setup. Proper organization prevents troubleshooting delays during performances and simplifies future configurations.

Step 3: Configure Mixer Settings
Connect cables from the splitter into the appropriate aux or output ports on the digital mixer. Set gain levels correctly during initial configuration. These settings typically remain consistent once properly established.
Configure aux sends as pre-fader for independent monitor control. Pre-fader routing means changes to channel faders do not affect aux mixes. Post-fader routing ties monitor levels to main output adjustments, which may cause unexpected mix changes during performance.
Save the configuration once settings are finalized. Digital mixers retain these settings, reducing setup time for subsequent performances.
Step 4: Set Up Wireless Transmission
Connect IEM transmitters to the mixer outputs designated for monitor mixes. Position transmitters where they have clear line-of-sight to the performance area when possible.
Proper antenna placement affects system reliability. Follow these guidelines for optimal transmission:
- Keep transmitter antennas separated from each other
- Avoid contact between antennas and metal surfaces
- Use antenna combiners when operating three or more transmitters
- Position antennas vertically for best coverage
Frequency coordination becomes important in environments with multiple wireless systems. Scan for available frequencies and assign each transmitter to a clear channel to minimize interference.

Step 5: Create Individual Mixes
Use the mixer application to build custom mixes for each receiver. Each performer's belt pack tunes to receive their designated mix channel.
Common mix preferences by instrument:
- Drummers typically require prominent kick, snare, and click track
- Bassists often prefer strong bass guitar with kick drum reference
- Vocalists need clear vocal presence with harmonic reference instruments
- Guitarists may want their instrument balanced with drums and vocals
Label each mix clearly in the mixer software. Consistent naming conventions prevent confusion during sound checks and allow quick adjustments when needed.
Proper Earpiece Fitting
Correct earpiece insertion ensures accurate monitoring and prevents hearing fatigue. Follow this procedure for optimal fit:
- Route the cable over the back of the ear
- Allow the ear hook to rest naturally
- Insert the earpiece with a slight twisting motion
- Verify cable polarity by aligning connector dots
A proper seal in the ear canal is essential for accurate frequency response. Poorly fitted earpieces result in reduced bass response and potential feedback issues. Custom-molded earpieces provide superior isolation and comfort for regular use.
Setup Efficiency Tips
Professional sound solutions require efficient workflows. Pre-connect as much equipment as possible before arriving at the venue. Cable management and equipment organization significantly reduce setup time.
Consider designating one person to manage IEM setup and troubleshooting. This specialization allows other crew members to focus on front-of-house and stage setup simultaneously.
After initial configuration, subsequent setups primarily involve:
- Powering on equipment
- Connecting to the network
- Verifying wireless transmission
- Running quick sound check
Digital settings remain saved in the mixer, eliminating the need to rebuild mixes for each performance.
Conclusion
Wireless IEM systems represent a significant upgrade in sound systems for musicians seeking professional monitoring solutions. Proper planning, quality equipment selection, and systematic setup procedures ensure reliable performance.
For additional guidance on pro audio equipment and professional sound solutions, visit JAMMIN' Sound Solutions or contact our team for personalized recommendations.